Licensed & Insured Roofing Contractor
Call (833) 754-0319
SummitShield Roofing
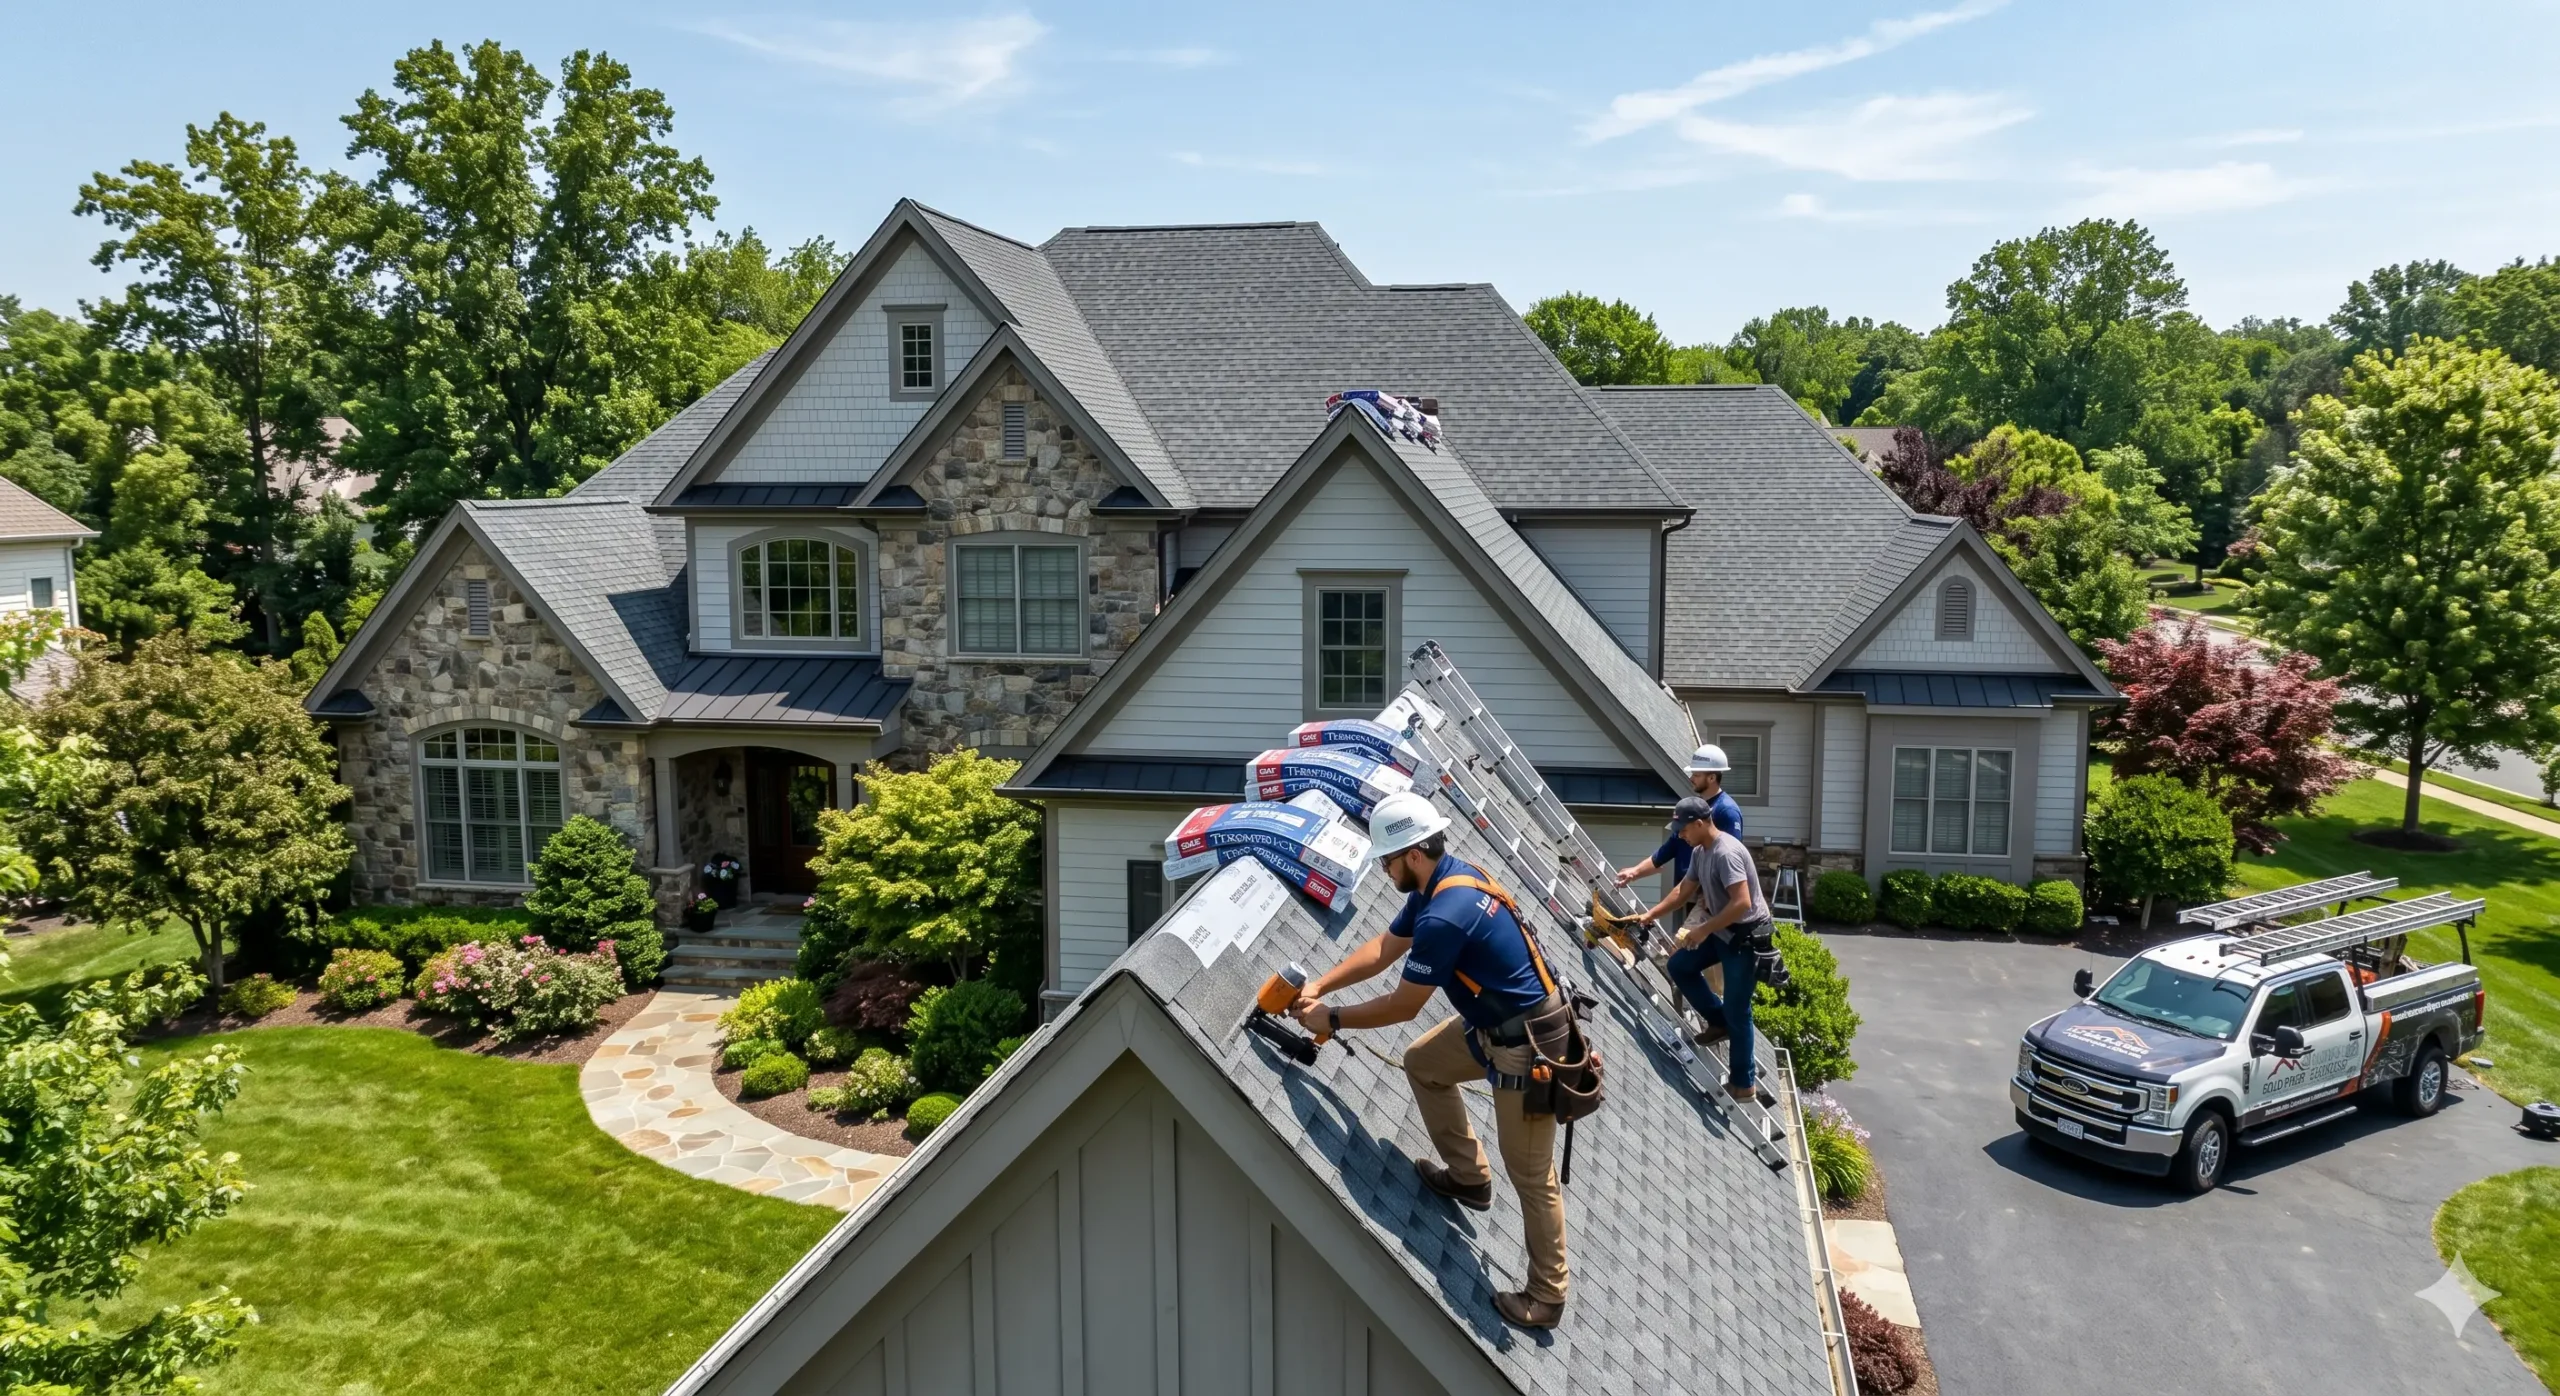
Roof installation example in Falls Church, VA
Falls Church Roof Installation

Roof Installation in Falls Church, VA — Built Correctly From the Deck Up

A new roof performs as a system only when every layer is installed to work with the next one.

SummitShield Roofing provides professional roof installation in Falls Church, VA for new construction, additions and projects where a complete roofing assembly is being installed. The work starts with the roof deck and continues through water-control layers, flashing, roof edges, field materials, penetrations, ventilation and ridge details.

That sequence matters.

A premium shingle installed over an unsuitable deck, poorly integrated flashing or an incomplete ventilation design is still a poorly assembled roof.

SummitShield Roofing is a Virginia Class A licensed and fully insured contractor serving Falls Church and Northern Virginia. Our trained crews work with manufacturer-backed roofing systems associated with GAF, Owens Corning and CertainTeed and follow applicable installation specifications for the system being installed.

Before Materials Go Down

Good Roof Installation Starts Before the First Shingle

The first visible row of shingles comes well after several important decisions.

Before roofing materials go down, the installation needs a suitable substrate, a clear water-shedding path and a plan for every transition in the roof.

We look at the conditions that affect how the roofing assembly will be built, including:

  • 1roof decking or sheathing
  • 2roof pitch and geometry
  • 3eaves and rake edges
  • 4valleys and intersecting roof planes
  • 5walls, chimneys and other transitions
  • 6plumbing vents and roof penetrations
  • 7lower-slope sections
  • 8drainage direction
  • 9planned attic ventilation
  • 10connections between new and existing construction

Manufacturers themselves treat residential roofing as an assembly of coordinated components rather than shingles alone. CertainTeed describes its system in terms of underlayments, shingles, accessory products and ventilation working together, while Owens Corning publishes separate installation requirements for individual roofing-system components.

Our job is to make those components work together on the actual roof in front of us.

Installation Sequence

How a Complete Roofing System Is Installed

The exact sequence varies with roof design and material, but installation quality depends on getting several fundamental layers and details right.

01

Prepare the Roof Deck

Decking or sheathing provides the fastening surface for the roofing system.

Before covering it, the deck should be appropriately prepared for the selected roofing assembly. Areas that are damaged, unsuitable for fastening or inconsistent with the project requirements need to be addressed before underlayment hides them.

This checkpoint is important because nearly every layer that follows depends on a sound surface beneath it.

Manufacturer installation instructions commonly require asphalt shingles to be installed over a properly constructed and supported roof deck.

02

Build the Roof Edge and Water-Control Layers

Eaves and rake edges are where several roofing components come together.

Depending on the roofing system and project requirements, the assembly can include drip edge, self-adhering water protection in vulnerable locations, and roof-deck underlayment.

The order matters because these materials have to overlap in a way that directs water outward rather than allowing it behind another layer.

GAF's current installation guidance, for example, describes specific sequencing and overlap relationships among underlayment, drip edge and ice-and-water protection at roof edges.

We follow the requirements of the roofing system being installed rather than applying one generic edge detail to every roof.

03

Install Underlayment as Part of the Assembly

Underlayment creates a secondary protective layer beneath the finished roofing.

It has to be installed with the correct orientation, laps and integration around other roof components according to the selected system.

Underlayment isn't there to compensate for poor shingle installation. It is one layer in a system designed to manage water when conditions reach beneath the primary roof covering.

04

Integrate Flashing Before It Becomes Hidden

Flashing is one of the details that separates a roofing installation from simply covering the deck.

Roof-to-wall intersections, chimneys, valleys, penetrations and other transitions require planned water-control details.

The key word is integration.

Flashing has to work with the underlayment and roofing material so water moves onto the roof surface and toward drainage areas. It shouldn't depend primarily on exposed caulk to keep the assembly dry.

This is also why flashing details are easier to get right while the roof system is being assembled than after every surrounding material has already been installed.

05

Install Starter Materials Before Field Shingles

The first visible shingle course isn't normally the first roofing material at the edge.

Purpose-made starter materials help establish the roof perimeter and support wind resistance at eaves and rakes. GAF notes that properly positioned starter-strip adhesive helps reduce the risk of shingle blow-off at roof edges.

Starter placement also sets up the courses that follow.

A poorly established first course can carry alignment problems farther up the roof.

06

Install the Field Roofing to the Manufacturer Pattern

Once the deck, water-control layers and edge details are ready, the primary roofing material can be installed.

For asphalt shingles, workmanship includes more than keeping the rows straight.

Our crews pay attention to:

  • 1manufacturer-defined fastening locations
  • 2required fastener quantity
  • 3shingle exposure
  • 4course alignment
  • 5stagger patterns
  • 6eave and rake treatment
  • 7valleys
  • 8wall transitions
  • 9penetrations
  • 10hips and ridges

Manufacturer installation specifications differ by roofing product, which is why SummitShield installs according to the selected system rather than using one fastening pattern for every shingle. Owens Corning, for example, publishes product-specific installation instructions covering starter courses and fastener requirements.

Where Details Get Tested

Flashing, Valleys and Penetrations Are Where Installation Details Get Tested

Large open roof planes are usually the straightforward part of an installation.

Transitions require more thought.

A valley receives runoff from two adjoining roof planes. A plumbing vent creates a hole through the roof covering. A wall intersection forces roofing and vertical construction to meet. Chimneys introduce multiple sides and water-flow directions.

Each detail creates a place where materials need to overlap correctly.

That is why our crews plan these areas as part of the installation rather than treating them as finishing work after the main roofing is already in place.

A finished roof should give water a predictable path from the upper roof toward the eaves and drainage system without relying on exposed sealant as the primary defense.

Intake and Exhaust

Ventilation Has to Work as Intake and Exhaust

Installing a ridge vent doesn’t automatically mean the roof is properly ventilated.

Where the attic design uses ridge exhaust, that exhaust needs adequate intake air, commonly through soffit ventilation or another compatible intake arrangement.

CertainTeed specifically describes ridge ventilation as working with adequate intake ventilation to create an effective attic ventilation system.

During installation, we evaluate ventilation in the context of the roof and attic configuration rather than viewing the ridge vent as an isolated product. That may include considering:

  • 1existing soffit intake
  • 2blocked or restricted intake paths
  • 3ridge length available for exhaust
  • 4roof geometry
  • 5separate attic sections
  • 6additions that don't share the same ventilation space

The goal is a balanced design appropriate to the structure, not simply more vents.

Additions & Tie-Ins

New Roof Installation on Additions Requires Careful Tie-In Work

Additions create some of the most detail-sensitive installation conditions.

A new roof section may meet an older roof, an exterior wall, a chimney, a dormer or a section with a different pitch.

That connection has to be treated as part of the roof design.

For example, a lower-slope addition may not use the same roofing approach as the steeper main roof. A roof-to-wall intersection may require step flashing and counterflashing. A new attic section may also have different ventilation needs from the original structure.

These aren’t cosmetic decisions.

They determine how the new roof section transfers water, air and loads into the rest of the building.

For homeowners replacing an existing complete roofing system rather than installing roofing on new construction or an addition, our dedicated roof replacement page owns that project type.

Material Fit

Roofing Materials Should Match the Roof They Are Installed On

Installation quality and material selection cannot be completely separated.

Roof pitch, architecture, exposure, appearance and application all affect which roofing system makes sense.

SummitShield installs manufacturer-backed roofing systems using products and components from manufacturers including GAF, Owens Corning and CertainTeed.

Depending on the project, the roofing conversation may involve asphalt shingles, metal roofing or another system suited to a specific roof condition or slope.

This page focuses on how roofing is installed.

If you’re still choosing the system itself, review our guide to roofing materials and options for the deeper material comparison.

Documentation

Installation Quality Is Easier to Verify Before the Roof Is Finished

Many of the most important installation details disappear underneath the completed roof.

Once the field shingles are installed, a homeowner can’t easily see the underlayment laps, deck preparation, concealed flashing or details surrounding some penetrations.

That is why documentation during installation has real value.

SummitShield uses photo documentation where useful to record relevant stages and conditions before they are covered. Important checkpoints can include:

Deck readiness.

The substrate is evaluated before the roofing assembly covers it.

Water-control layers.

Underlayment and applicable vulnerable-area protection can be documented before field materials are installed.

Flashing.

Critical transitions can be recorded while they remain visible.

Roofing installation.

Course layout, roof edges, penetrations and other significant details can be reviewed during the work.

Completion.

Finished roof planes, hips, ridges and transitions receive a final review.

The result is more useful than simply telling the homeowner that everything underneath the shingles was done correctly.

Quality Control

What We Check During Installation Quality Control

A roofing crew shouldn’t have to wait until the final walkthrough to find installation problems.

Quality control belongs throughout the project.

Depending on the roof and material, our installation checks can include:

  • 1deck condition before covering
  • 2underlayment placement and laps
  • 3integration around valleys and penetrations
  • 4drip-edge and perimeter details
  • 5starter-course installation
  • 6shingle alignment and exposure
  • 7fastener placement
  • 8roof-to-wall flashing
  • 9pipe boots and penetrations
  • 10ridge and hip details
  • 11ventilation components
  • 12finished roof-plane consistency

Small installation errors become harder to correct after several additional courses or components cover them.

Checking the work as the assembly progresses helps keep those errors from becoming concealed roof problems.

Project Coordination

Coordinating Roof Installation With the Rest of the Project

New roof installation is often one part of a larger construction sequence.

On additions and new construction, roofing may need to coordinate with framing, exterior walls, siding, masonry, mechanical penetrations or other trades.

The roof should not be installed in isolation if another component still needs to pass through or connect to it.

Before work begins, the installation scope should establish:

  • 1whether the roof deck is ready
  • 2which penetrations are final
  • 3where walls and roof planes intersect
  • 4how flashing interfaces with exterior finishes
  • 5material delivery and staging
  • 6safe property access
  • 7which roofing components are included
  • 8who is responsible for related work outside the roofing scope

This coordination reduces the chance that finished roofing has to be unnecessarily opened or modified later.

As a Falls Church roofing contractor, SummitShield connects specialized installation work to the broader roofing needs of the property without turning every installation project into a general roofing package.

Local Requirements

Roof Permits Depend on the Actual Project and Jurisdiction

Roofing permit requirements should follow the project, not assumptions based only on a Falls Church mailing address.

The independent City of Falls Church states that a single-family roof can generally be replaced without a building permit when rafters or a major portion of the decking are not being replaced, while work involving framing requires a permit. New construction and additions therefore need to be evaluated according to their actual scope.

Properties with Falls Church mailing addresses may also be located outside the independent City of Falls Church, so the correct jurisdiction matters.

Before Work Starts

What a Roof Installation Scope Should Tell You Before Work Starts

A roofing proposal should let you understand what system is actually being installed. Before signing, you should be able to identify:

Installation detailWhat should be clear
Roofing systemMaterial and product being installed
Roof deckRequired condition and responsibility for corrections
UnderlaymentProduct/system specified beneath the roof covering
Water protectionWhere additional protection is included or required
Drip edgeHow roof perimeter details are handled
FlashingWhich transitions and penetrations are included
Starter courseStarter system used at applicable roof edges
Field roofingProduct, layout and manufacturer installation requirements
VentilationWhether ventilation is included or being changed
Hips and ridgesMatching system components and finishing details
DocumentationRelevant installation stages to be recorded
CleanupHow debris and the work area are handled
WarrantyApplicable workmanship and manufacturer coverage

This is more useful than comparing proposals based only on the name of the visible shingle.

Two roof installation companies can quote the same material while proposing different assemblies underneath it.

Manufacturer Credentials

Manufacturer Credentials Matter When Installation Is the Product

The value of contractor credentials is especially clear on an installation page.

Manufacturers publish detailed requirements for the installation of their roofing components. GAF, Owens Corning and CertainTeed each provide system-specific guidance covering components such as underlayment, starter materials, shingles, flashing-related details and ventilation.

Those qualifications matter because the product you’re hiring us to provide is not simply a bundle of roofing material.

It is the installed roofing assembly.

See the Finished Work

See Roof Installation Work Before Choosing a Contractor

Finished project photography can tell you more than a row of manufacturer logos.

Look at the straightness and consistency of roof planes, edge details, valleys, hips, ridges and transitions. For more complex roofs, look at how additions, dormers and intersecting sections were handled.

Installation-stage photography is even more useful when available because it can show details that are no longer visible after completion.

You can view installation projects and other SummitShield roofing work before deciding who should handle your project.

Roof Installation FAQs

Roof Installation FAQs for Falls Church, VA

What happens during a professional roof installation?

Professional roof installation begins by confirming that the roof deck and project are ready for roofing.

The installation then progresses through the specified water-control layers, roof-edge components, flashing, starter materials, field roofing, penetrations, ventilation and ridge or hip details appropriate to the selected system.

Quality-control checks should occur during the installation rather than only after the roof is finished.

What’s the difference between roof installation and roof replacement?

Roof installation focuses on assembling the new roofing system correctly.

Roof replacement includes the separate decision and project scope involved in removing an existing roofing system, evaluating what is exposed and replacing an aging or failed roof.

A new construction project or addition may require roof installation without an old roofing system to replace. If your primary need is removing and replacing an existing roof, our replacement service is the better starting point.

Does roof installation in Falls Church require a permit?

It depends on the project and jurisdiction.

The City of Falls Church says a single-family roof covering can generally be replaced without a permit when rafters or a major portion of the decking aren’t being replaced, while work involving framing requires a building permit. New construction and additions therefore need to be evaluated based on the actual work being performed.

Falls Church postal addresses can also fall under a different jurisdiction, which is why the property location and project scope should be confirmed.

Why is underlayment important if shingles keep the rain out?

Shingles are the primary water-shedding surface, but underlayment provides another protective layer beneath them and is part of a complete roofing assembly.

Manufacturers incorporate underlayment into their roofing-system requirements alongside shingles and other components rather than treating it as optional filler beneath the finished roof.

Should a new roof include ridge ventilation?

Not automatically.

Ventilation should be appropriate for the attic and roof configuration. Where ridge exhaust is used, it should work with adequate intake ventilation. Simply installing a ridge vent without considering the intake side doesn’t create a balanced ventilation system.

Talk With a Roofing Specialist About Your Installation

Speak With SummitShield About Your Falls Church Roof Installation

If you’re preparing to install a new roofing system, the important questions start before the first shingle is fastened.

What condition is the deck in? Which water-control layers are being used? How will walls, valleys and penetrations be flashed? What ventilation design applies? Which manufacturer installation requirements govern the system?

Speak with SummitShield Roofing about your Falls Church roof installation, addition or new roofing-system project.

Direct Roofing Hotline

(833) 754-0319

Serving Falls Church, Arlington, Fairfax, McLean, Vienna, Alexandria, and Northern Virginia.

Call Now
Call a RooferTalk to a Roofer